A common question is what caulking to use to repair a leak in a window or vent, the answer is “No caulking will work”, especially stay away from any sealant labelled silicon. The only thing caulking will do is make a mess, cost money and time without fixing the leak, and create a bunch more work to make the repair so it is permanent. Windows and vents need to be sealed between the mounting flange and the body, this water tight seal is created with butyl tape, a very sticky synthetic polymer which will not harden and will remain soft, pliable and sticky for about 40+ years. These characteristics is what makes it the ideal sealant, the best property is its ability to reseal, this is where caulking fails, if a leak develops it will always leak. Leaks around the side windows and roof vents requires you to remove them, clean up the old butyl tape sealant, apply new butyl tape and reinstall, not a hard job but also not something you can do in an hour. If there is caulking around the windows or vent, especially if it is silicon you have extra work to clean that off. A leak can never be repaired with caulking, the window or vent must be removed and resealed properly.
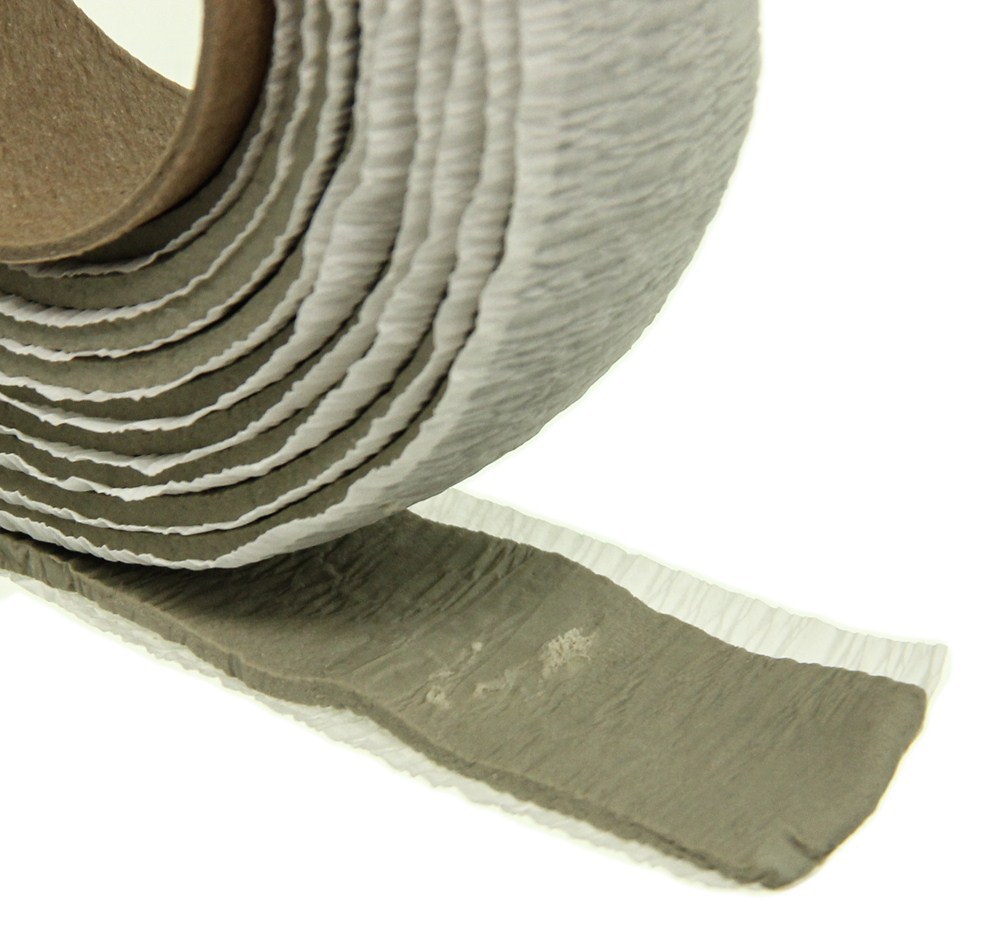
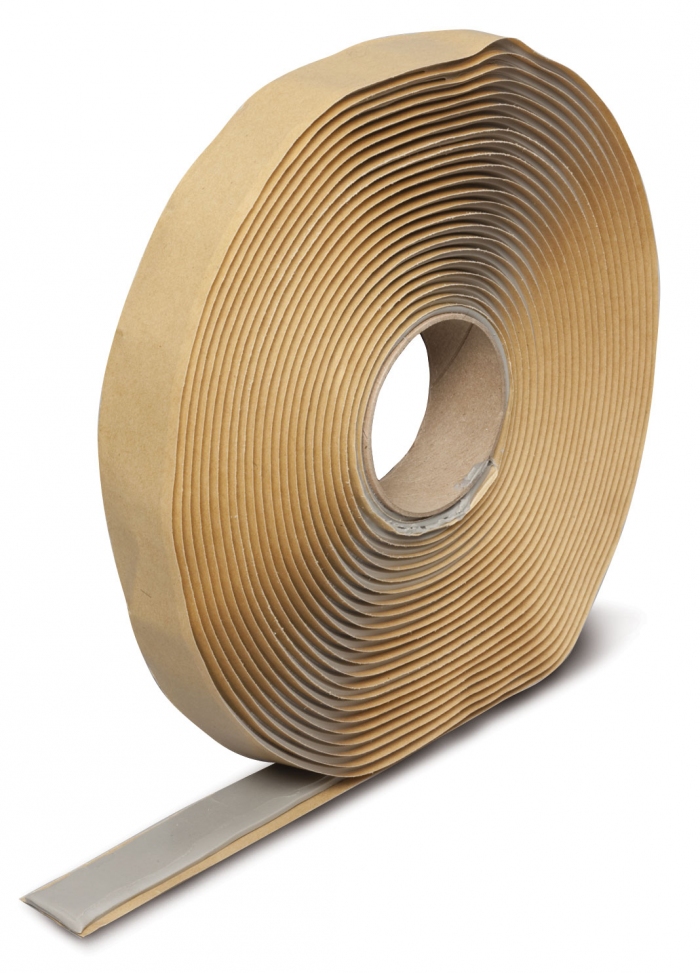
Butyl tape is a remarkable product, this sticky, flexible tape can seal windows and vents for many decades but be aware there are two different products that are often called butyl tape, these pictures show the difference. The left picture is actually butyl putty which is of a lesser quality and only lasts about 8-12 years.
The product on the right is butyl tape, a very high quality product which will last over 40 years.The easiest way to tell the difference between the two is by looking at the release paper. The release paper on the putty is like crape paper or wrinkly, the release paper on the butyl tape is smooth and a heavier coated paper.
The side windows and roof vents are mounted either with screws into an interior wooden frame or with rivets through the fiberglass with steel backing washers. To remove the Jalousie either remove the screws or carefully drilling out the rivets using a 1/8″ drill bit, this prevents accidentally making the hole larger if you drill through the fiberglass. Usually just drill until the rivet head comes off, then the rest of the rivet can be tapped out with a small punch or even pulled out from the inside with a pair pf pliers. Once all the fasteners are removed the window can be carefully pried and worked out. This can be a lengthy and messy job as the butyle tape will be resisting your every attempt.
Once the window or vent is removed all the old butyl tape must be removed and cleaned up. While you have the side windows out it is a good idea to inspect the seals around the opening window panes and the opening mechanism. The Jalousie windows are excellent in both quality and function and can be completely rebuilt as shown in the attached video.
Lynea Finn
Hi Ian,
What size of buytl tape do you recommend? I see several sizes and thicknesses.
Ian
A good all purpose size is 3/4″ wide by 1/8″ thick
Sheri Kunzli
Hi Ian
Where do you buy butyl tape in Canada? And is the sealing process the same for front windows?
Any experience on repair a crack in a window?
Thanks!
Ian
Butyl tape is available at most RV parts departments, Princess Auto and CampCan. The front and rear windows use a locking rubber seal,also available at CampCan, no butyl tape used on this installation. It is very difficult to repair a crack in an acrylic window, as the material ages it gets crazed and brittle, if it is one of the glass windows then you can replace the glass, use a heat gun to heat the aluminum frame up before trying to remove the screws in the corners, without heat the screws usually break and result in a lot more work to repair. I have many articles in this website (Boler.ca) and in the http://www.Boler-Camping.com website.