The black vinyl trim on the side jalousie windows is a decorative trim that covers the screws or rivets mounting the windows to the fibreglass body. As the vinyl trim ages it shrinks, exposing the mounting flange. It is easy enough to replace this trim with new vinyl trim insert, available at any RV parts or repair shop in a variety of colours, but I wanted something that would last forever and look great.
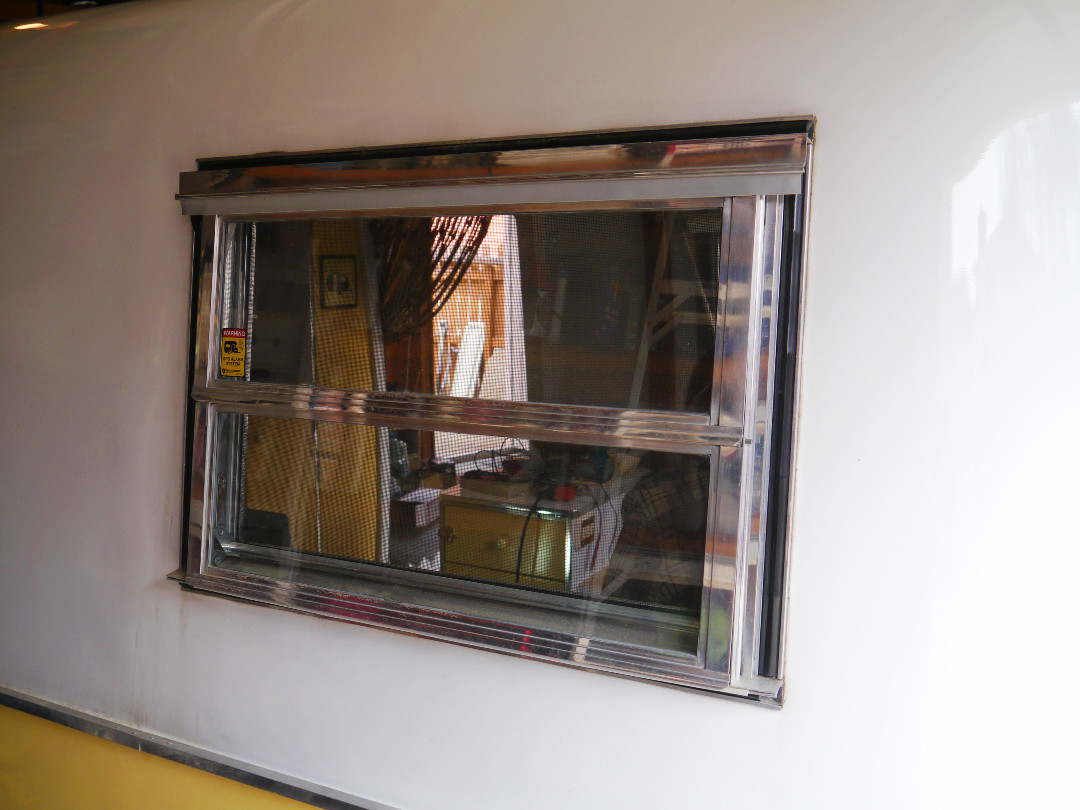
My solution was to use anodized aluminum edging available a many home improvement stores, I bought mine at Home Depot in Canada, it comes in 8′ lengths and is quite easy to work with.
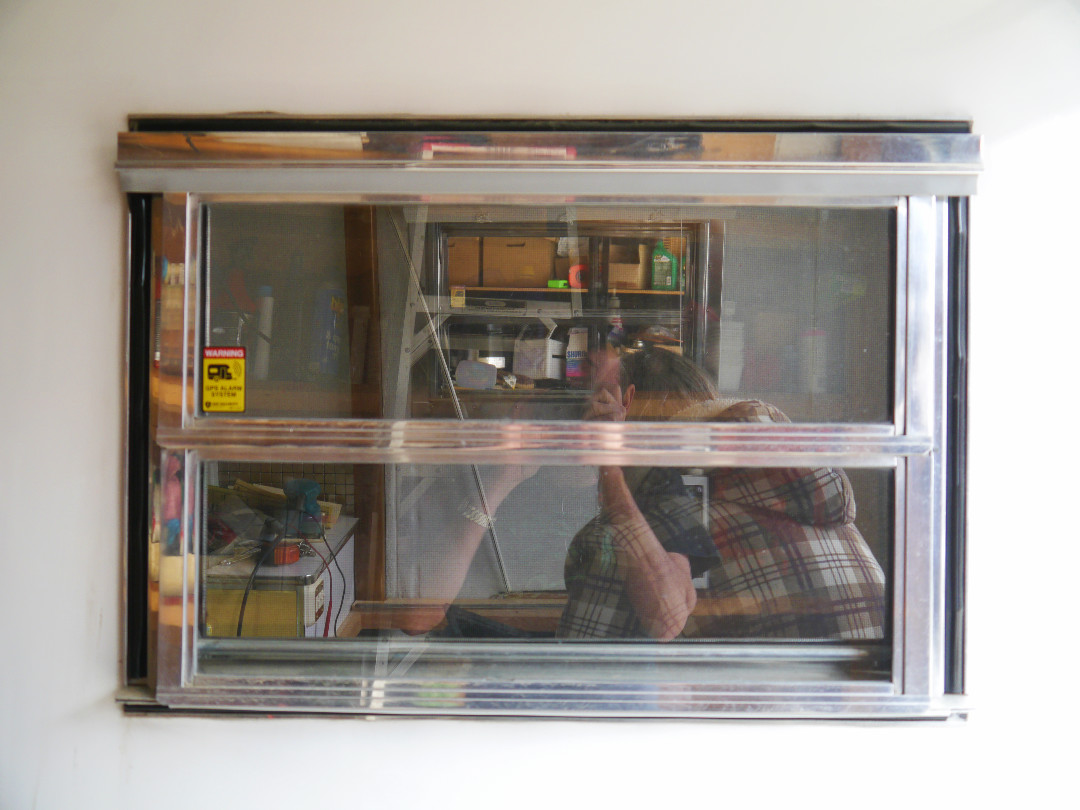
Here shows the original vinyl trim, this was new and installed just 3 years ago, you can see how much it has shrink exposing the mounting rail behind it.
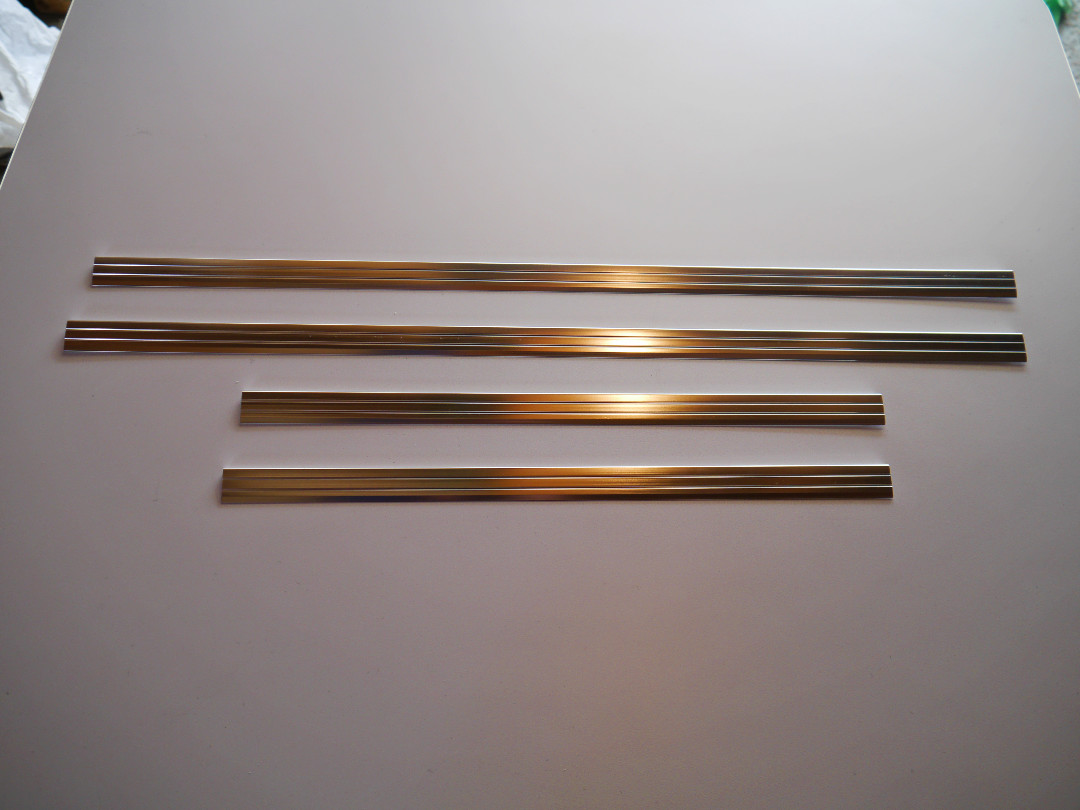
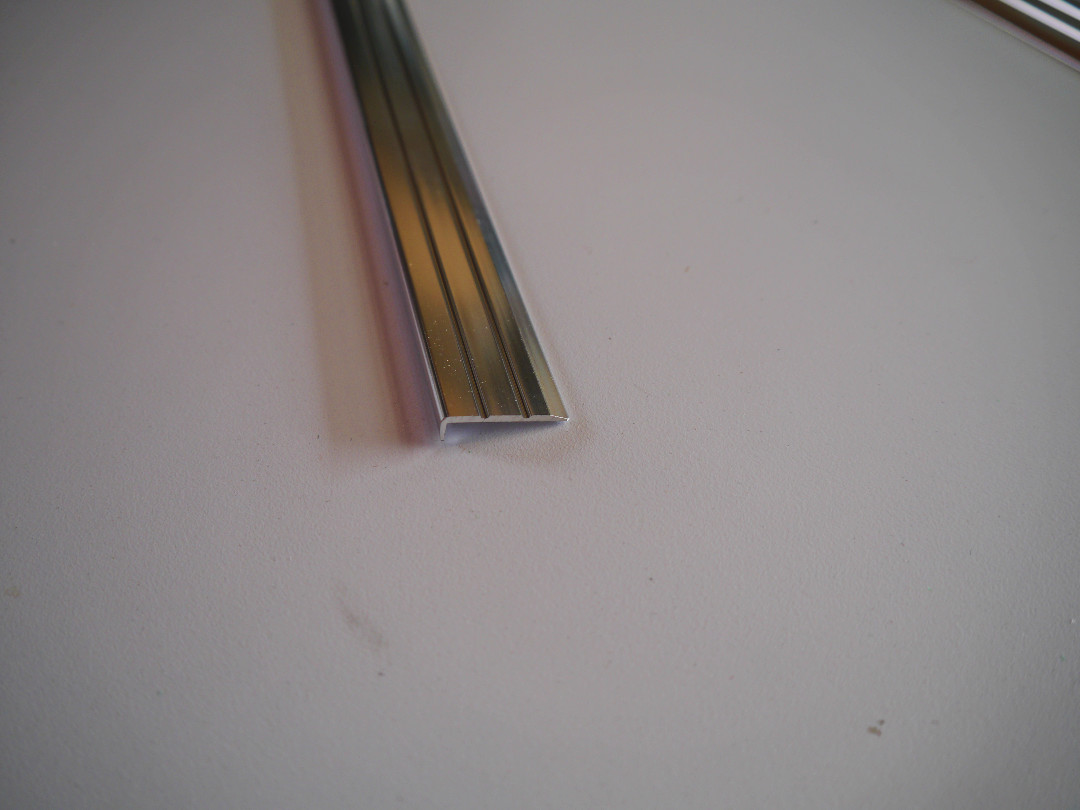
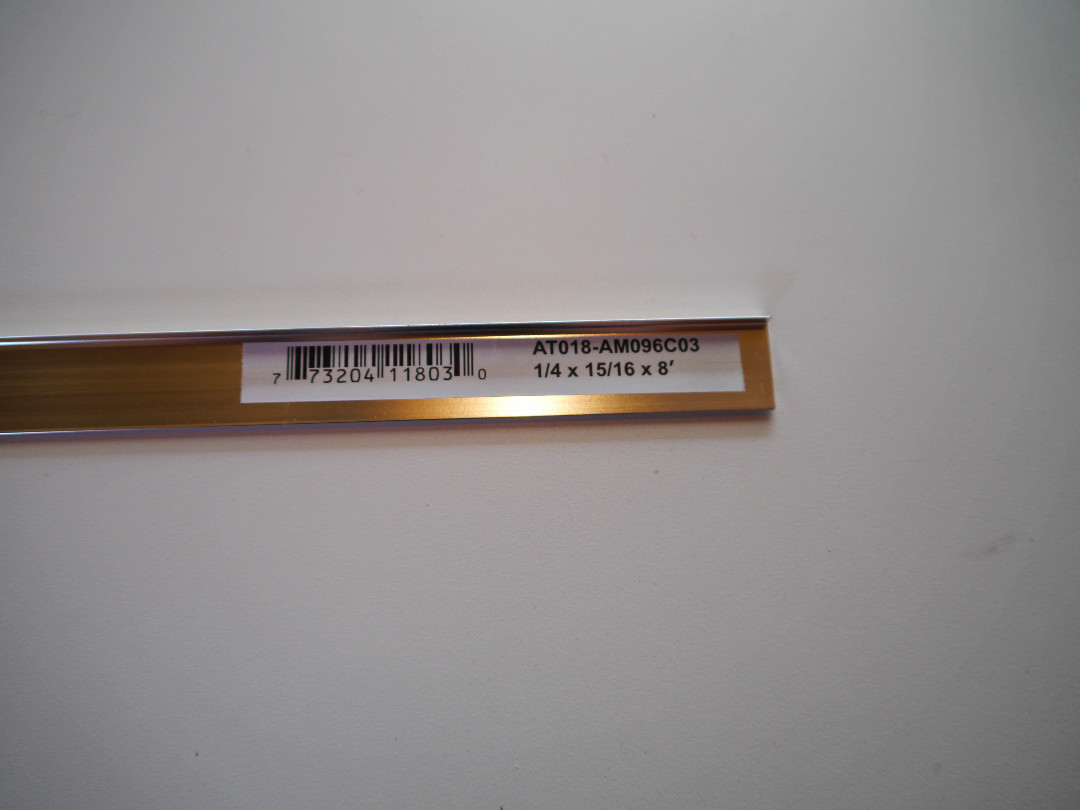
The aluminum moulding comes is 8′ lengths, one length is needed for each side window. It cuts easily with a hand hacksaw then file the cut end to smooth it out and remove any sharp edges and corners.

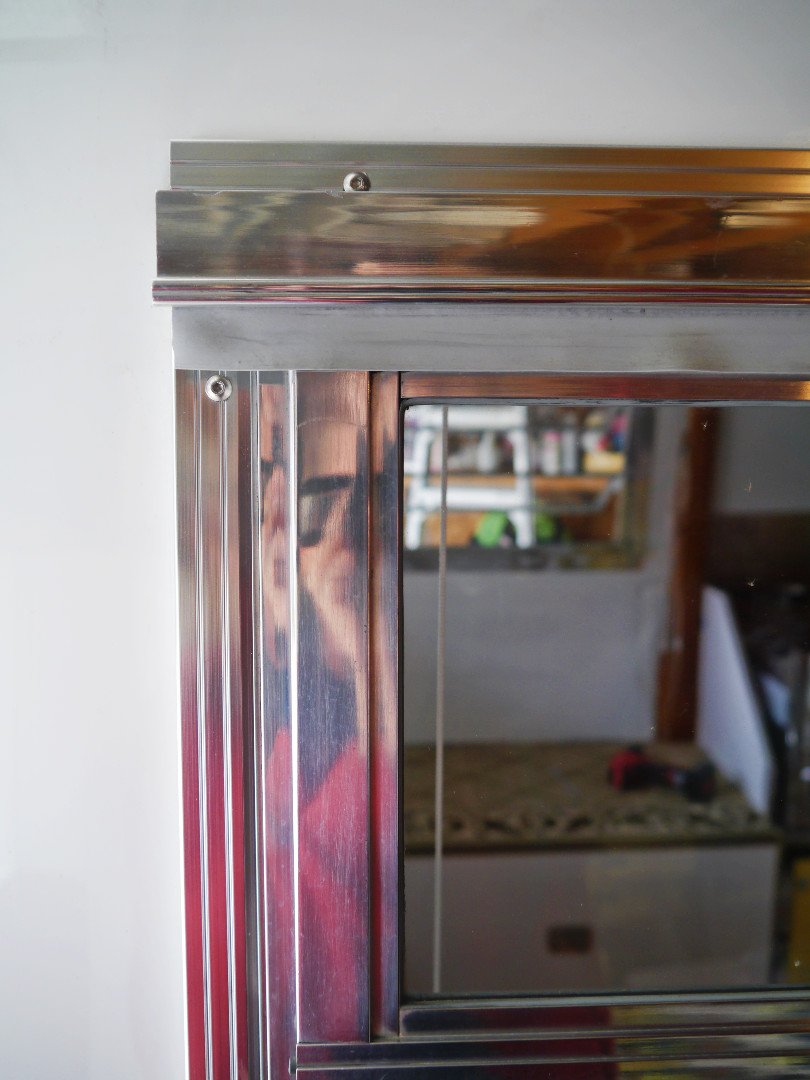
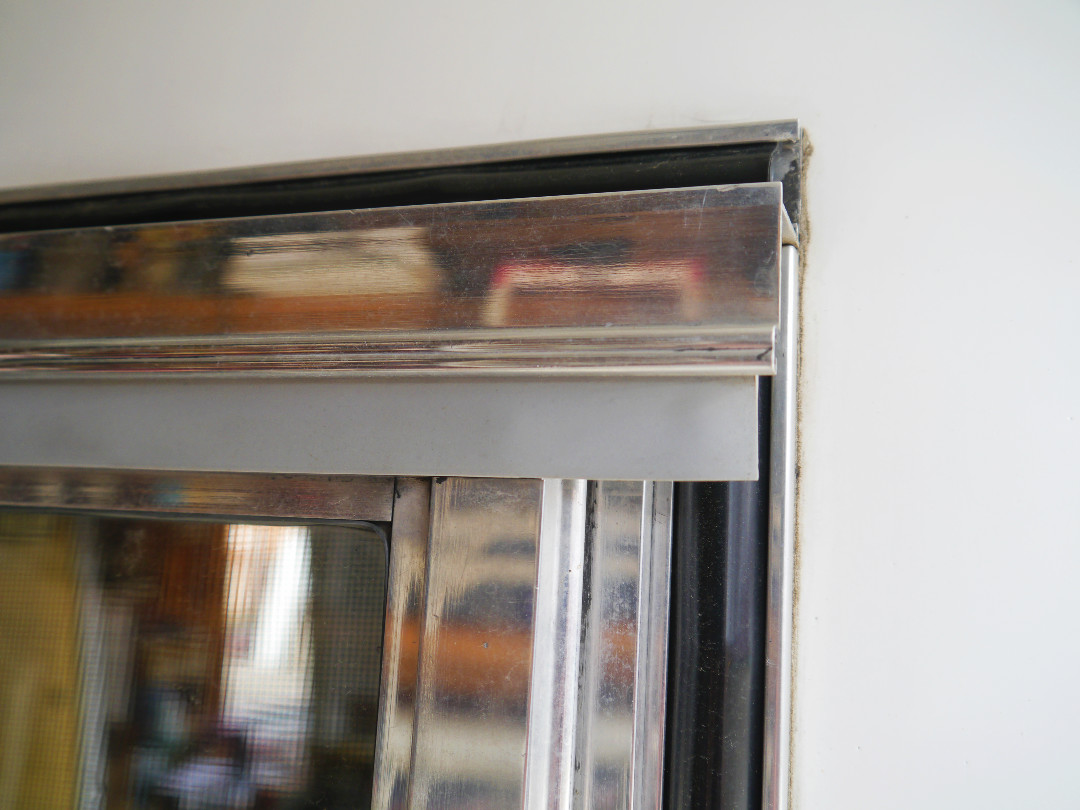
To install it I drilled out the end rivets on each side, with the aluminum moulding cut to length I held the moulding in position while a helper drilled through the rivet holes from the inside. Using 8-32×1″ machine screws (small nuts and bolts) I inserted the screw from the outside through the aluminum trim, I installed a 1/8″ thick nylon washer between the new trim and the window flange to apply pressure to the flange with a little butyl tape around the hole for sealing, then used a small washer and nut on the inside.
Nathalie Robitaille
Bonjour !
Où peut-on acheter ces fenêtres en aluminium ?
J’ai une Boler 1973 et je dois changer mes deux fenêtres .
Merci !
Ian
If you have the original windows they can be rebuilt, new seals are available. New windows like the originals are no longer available new,you can try to find used windows, many vintage trailers used these windows in different sizes.
Nathalie
Thanks !
I need to change the little window above the oven. Do you known if this kind of window still available?
Thank you so much!
Ian
The same small window like above your stove or in the door are not available new. Many vintage campers used this window so check the used market or local RV used part operations. The small window is 6″ high and 18″ wide, there are new radius windows available that are 12″ high and 18″ wide, check online or you could have one custom make by companies like Sunview Industries in BC
Nathalie
Nous avons finalement démonté les fenêtres, les avons sablé et repeintes ! Je cherche maintenant les petits caoutchoucs. Savous-vous où nous pouvons les trouver ? Merci 🙂
Ian
The window seals are available at CampCan https://campcan.ca/product-category/seals/
Nathalie Robitaille
Nous avons finalement démonté les fenêtres, les avons sablé et repeintes ! Je cherche maintenant les petits caoutchoucs. Savous-vous où nous pouvons les trouver ? Merci 🙂
Ian
http://www.CampCan.ca has all the window seals
Janet Giroux
Looking for a side window for a boler can someone tell me where I can buy them? Thanks Janet
Ian
Original jalousie windows are not available new, but they do come up for sale occationally on the used market. I know a set was recently advertised in my Facebook Group https://www.facebook.com/groups/670013256460408